A Cloud Dev Hack: Connecting Local Code to Remote Clusters
If you’ve ever used docker-compose for local development, you know how smooth it can be. You define services in a docker-compose.yml file, spin up local services, and everything talks to each other. This works well for local environments with a few services.
But as your application grows, it’s not just about having more services; it’s the kind of services your app depends on. Things like access-controlled APIs, shared queues, or identity providers tied to your cloud provider. These are hard to reproduce locally because they require real data, real permissions, and often coordination across teams.
Local development is no longer limited to a simple database and API. You’re likely building applications that depend on in-cluster services, such as message queues, distributed job processors, or identity providers integrated deeply with your cloud environment. These are services that you can’t just spin up locally, since they are often owned by other teams. So, reproducing all that locally while maintaining consistent environments becomes… exhausting, especially when you’re trying to keep everything in sync with your cloud environment.
You might occasionally push changes to staging for manual tests, but that’s not where most development feedback cycles happen. And even when you push a PR and trigger CI tests, you’re still not testing in a truly production-like environment.
As teams scale, this problem worsens: feedback loops slow down, integration bugs accumulate, and developers spend more time debugging than building.
Cloud development environments promise a fix, but they often add new headaches: slower tools, locked-down access, and workflows that just feel foreign.
But what is there was a different way? What if you can keep your app running locally, but somehow wire it into the actual production-like cluster (like staging)? No redeploying and mocks. Just your local code talking to real services as if it were already inside the cloud.
Turns out, there’s a way to actually do this, and that’s what this guide is about.
I’ll connect my local setup to a remote Kubernetes pod and test everything live, without changing how I code. Think of it as a way to sneak your app into the cluster while keeping your normal workflow.
Here’s what we’ll walk through together:
- How to run your code locally and make it behave like it’s inside the cluster.
- How to access real data, services, and traffic (no deploy required).
- How to debug your app in real time, using your own terminal and editor.
Setting things up
Before anything else, you’ll need a few things in place.
- A working Kubernetes cluster (we’ll use kind here, but you can use any cluster your kubectl can talk to, including ones hosted on major cloud platforms like EKS, GKE, or AKS).
- kubectl configured.
- macOS, Linux, or Windows with WSL2.
- Linux Kernel version 4.20 or higher if you’re on Linux.
We’ll also install mirrord to connect your local app to the remote pod so it can access resources, services, environment variables, and network traffic as if it were running inside the cluster. If you want to explore more of what mirrord can do, then sign up here to get started.
Installing mirrord
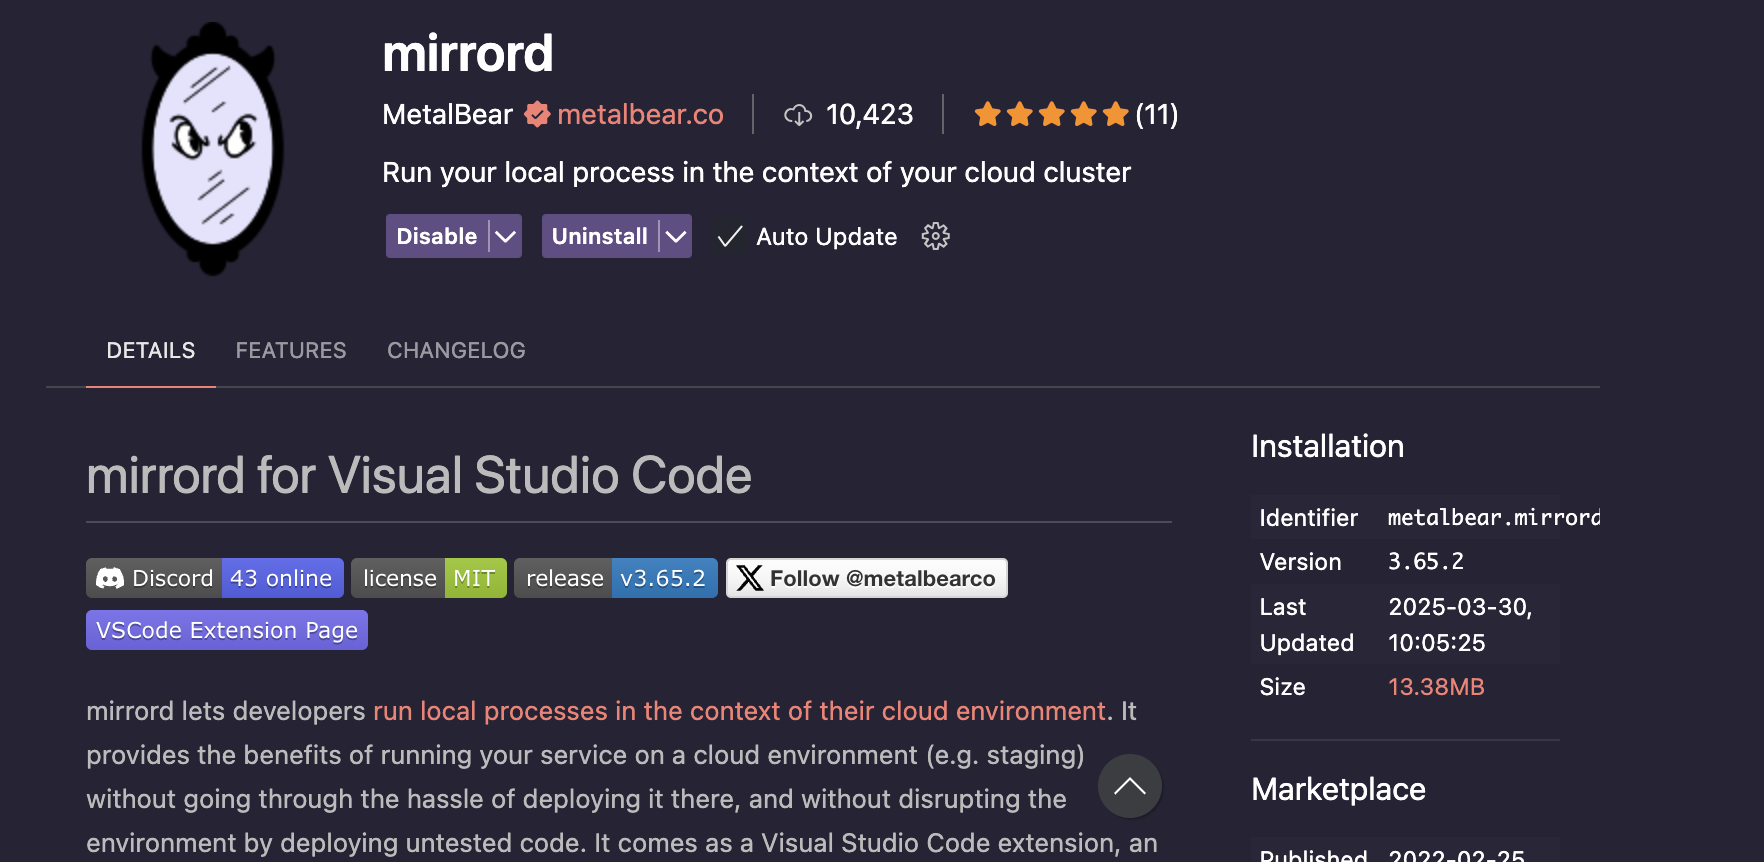
mirrord can be installed locally in three ways, as a standalone CLI tool, through the VS Code extension, or through the IntelliJ plugin. In this tutorial, we’ll cover setting it up with the CLI and the VS Code extension. If you’re using IntelliJ, you can install the mirrord plugin from the marketplace and follow a similar flow.
If you use Homebrew, you can install mirrord CLI with this command:
brew install metalbear-co/mirrord/mirrord
If you don’t use Homebrew, you can install mirrord with the following install script:
curl -fsSL https://raw.githubusercontent.com/metalbear-co/mirrord/main/scripts/install.sh | bash
If you’re on Windows, make sure WSL2 is set up first. Then run the same install script inside your WSL terminal.
To verify if the installation is successful and everything works, run the following commands:
mirrord --version
kubectl get pods -A
The first command checks the mirrord version installed on your local machine, while the second command checks if your cluster is accessible.
If you get a command not found: mirrord after installing, it’s likely your terminal session hasn’t picked up the new path. You can fix it by running:
source ~/.bashrc
Connect your local code to a remote pod
For simplicity, we’ll use an example project in this GitHub repository for this demo. It consists of two parts: a local Go app that sends HTTP requests every few seconds, and an internal API service running inside your Kubernetes cluster that responds to those requests.
You’ll first deploy the internal-api service to your cluster. It exposes a single /process endpoint that replies with a JSON message. Then, you’ll run local-app locally using mirrord, so it can connect to and communicate with the in-cluster service as if it were running inside the cluster itself. In this example, the Go app only communicates with one internal API - but in real-world projects, it would likely connect to several, such as authentication systems, queues, or third-party services owned by other teams.
Before beginning, clone the demo repository that contains the internal API and local app: so:
git clone https://github.com/metalbear-co/cloud-dev-hack-blog-demo
Once you’ve done that, deploy the service using the Kubernetes manifest:
kubectl apply -f internal-api.yaml
This will spin up the API service in your Kubernetes cluster using the manifest provided in the repo.
To check if the pod is running, run this command:
kubectl get pods
kubectl get svc
You should see a pod called internal-api and a corresponding service also named internal-api
Plug your local app to the cluster
Navigate to local-app/ directory in your code terminal:
cd ../local-app
Now, run your local app through mirrord:
mirrord exec -- go run main.go
This launches your Go app locally and connects it to your cluster environment
Note: mirrord runs in targetless mode by default when no
--targetis specified. It spins up a temporary pod behind the scenes to mirror the environment.
If everything is working fine, you should see logs like this:
2025/04/02 04:33:03 Pinging internal service at: http://internal-api.default.svc.cluster.local:8080/process
2025/04/02 04:33:03 Response from internal service: 200 OK
When you run your app with mirrord exec, mirrord spins up a lightweight agent within your Kubernetes cluster and attaches it to your chosen pod. This agent shares the pod’s network, environment variables, file system, and access to other resources available in the cluster, like config maps, secrets, and service endpoints.
From there, mirrord intercepts system calls, including networking, and environment access, and reroutes them through the cluster. So, anytime your app makes an HTTP request or accesses an environment variable, it behaves as if it’s running inside the remote pod.
Outgoing traffic, such as API calls, is routed through the pod’s network, and incoming traffic to the pod is also mirrored back to your local process. This allows you to inspect data or manage requests without deploying any additional environment or dependencies. That’s a huge time-saver for developers trying to debug, test edge cases, or validate integrations before pushing to a staging environment.
Debug your app with VS Code
You can also debug your app with mirrord directly in VS Code, just like any local process, with breakpoints, step-throughs, the whole thing. All you need is the mirrord VS Code extension.
Head over to the VS Code marketplace and install the mirrord extension.
Once the extension has been installed, you should see mirrord at the bottom of your status bar. Click it to turn it on or off. It automatically generates a mirror.json file inside the .mirrord folder at the root folder of your project, but for this example, it’s already been included in the code repository.
Create a breakpoint inside the /local-app/main.go file at the following line:
log.Printf("Pinging internal service at: %s", internalServiceURL)
This is to inspect the outgoing service URL.
Or, if you want to check for errors when making HTTP requests, add a breakpoint at this line of code:
if err != nil {
  log.Printf("Error: %v", err)
}
You can take it a step further by triggering a real error, for example, changing the internal API URL to something invalid. This causes your local app to fail, giving you a realistic debugging scenario to walk through with breakpoints and logs.
Click the Run and Debug button and select the target pod to mirror.
Now you’re fully debugging your local app with access to real cluster data from right inside your IDE.

Mirror vs. steal mode
By default, mirrord runs in mirror mode. That means traffic to your selected pod is duplicated and also sent to your local process. Your app can receive the traffic from the cluster but any responses sent by it will be discarded by mirrord.
If you switch to steal mode, your local app gets all of the incoming traffic and is the one sending back responses as well. Use this when you want to test the response of your local code as well.
You can also use outgoing filters to control which requests go through the cluster and which stay local. For example, if your app talks to an external API or mock service, you can exclude those so they aren’t routed through the cluster unnecessarily.
Wrapping up
The typical cloud-native development cycle is painfully slow: code a change, build a container, push it to the registry, deploy to the cluster, wait, test, and repeat for every single change. That’s a ton of wasted time and context switching when you’re just trying to fix a bug or understand service behavior in a real environment.
By connecting your local code to the cluster with mirrord, you keep the speed of your own tools. At the same time, you get access to real cluster resources without moving your workflow into a full cloud development platform. You can run fast, debug smart, and test realistically - all without leaving your terminal. One cool thing about this setup is that it removes the configuration drift between your local environment and the cluster.
It also gives your local app access to the same resources it would use in the cluster - whether that’s internal APIs, queues, or mounted secrets - without needing to mock them. That alone can boost developer productivity significantly.
For developers working on microservices or software that relies on shared infrastructure, especially where infrastructure management overlaps with development, mirrord is one of those tools that quietly upgrades your workflow without needing to commit to heavyweight cloud development solutions. Try it once on a single service. This will change how you build and test your application or software in cloud-native environments. If you’re ready to dive deeper, check out the mirrord website to get started.